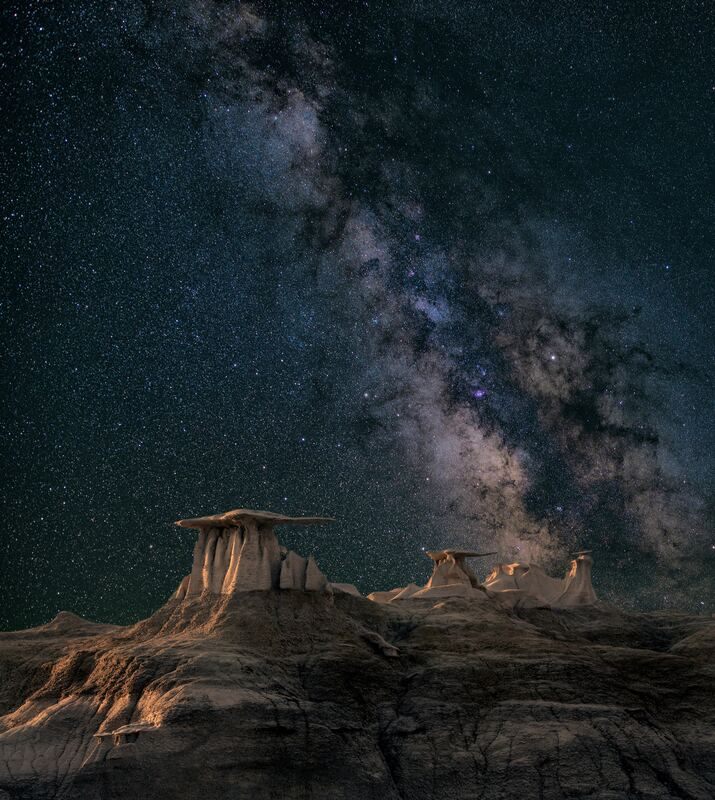
How to Photograph the Milky Way
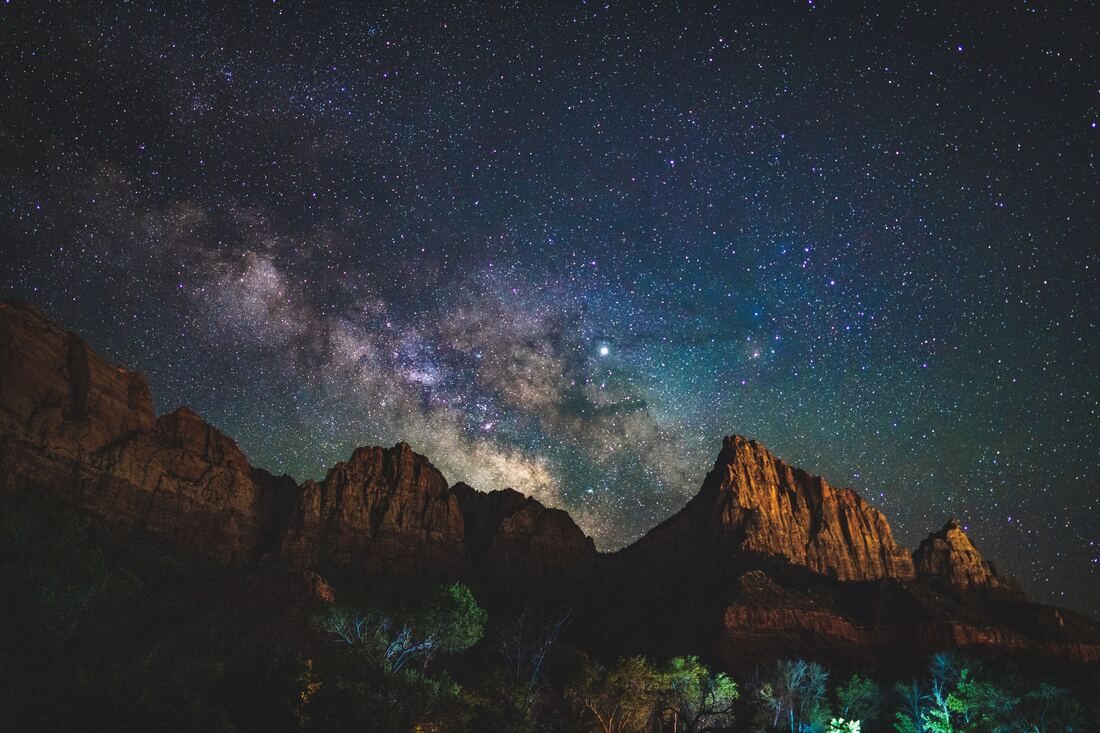
Ever looked up on a clear night and wanted to capture what you were seeing? Photographing the Milky Way is one of my favorite ways to slow down after a long season of weddings – it’s meditative, a little bit of an adventure, and endlessly rewarding once you get the hang of it. Here’s what I’ve learned.
What You’ll Need
You don’t need a fortune in gear, but a few essentials make a huge difference. Start with a sturdy tripod – you want something solid enough that it won’t budge in a breeze, since your shutter will be open for many seconds at a time. A remote shutter release helps eliminate camera shake, though it’s optional. For your lens, look for a wide angle with a maximum aperture of at least f/2.8; that wider aperture lets you shoot at a lower ISO and helps keep noise out of your final image. A headlamp (or a bright flashlight in a pinch) keeps your hands free while you adjust settings in the dark, and a Milky Way tracking app plus a weather app for checking cloud cover will save you a wasted trip. For processing, image averaging software like Photoshop or GIMP can help you pull out even more detail.
Choosing Your Location
Location matters just as much as gear. Look for a clear sky with as little light pollution as possible – the more artificial light around you, the harder it is for your camera to pick up what’s happening overhead. You’ll also want to be facing due south, since that’s where the Milky Way is visible from most of the U.S. And timing matters, too: Milky Way season generally runs from February through October, so plan your outings accordingly.
Camera Settings & Focus
Autofocus is basically useless in the dark, so switch to manual. Set your camera to live view, zoom in 100%, and find the brightest point in the sky – usually the moon, or a bright star if the moon isn’t up. Turn the focus ring until it’s sharp, then lock it in and turn off live view. From there, start your ISO around 1600 and adjust as needed – high enough to capture the sky, low enough to avoid excess noise. Shoot at your lens’s fastest aperture (f/2.8 or lower if you have it), and keep your shutter speed between 10 and 25 seconds to avoid star trails. Always shoot in RAW so you have the most flexibility in post-processing.
A Few More Tips
- Dress for the weather – you’ll be out in the elements for a while.
- Bring snacks and water; night shoots run long.
- Charge your batteries and clear your memory cards before you leave the house.
- Scout your location in daylight so it’s easier to navigate once it’s dark.
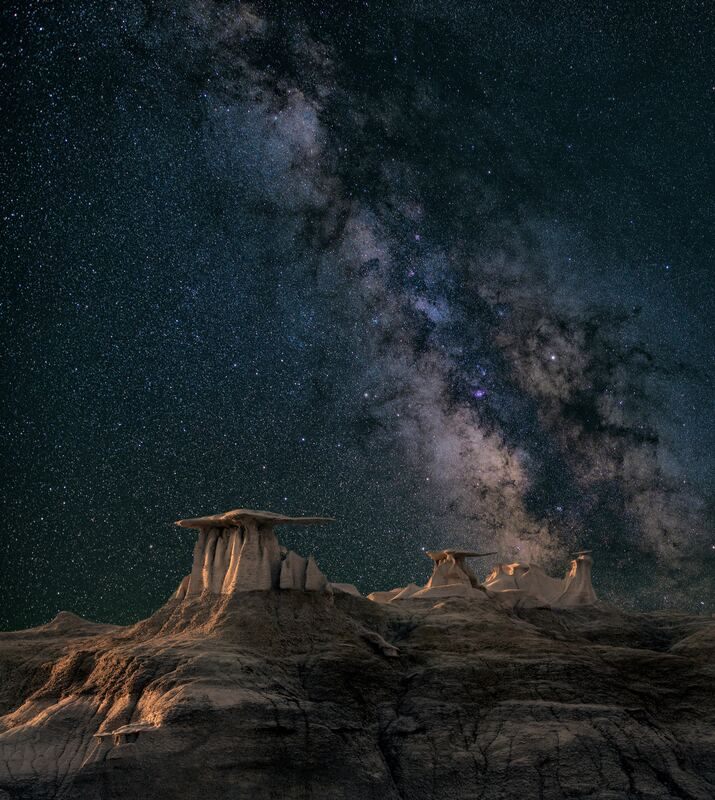
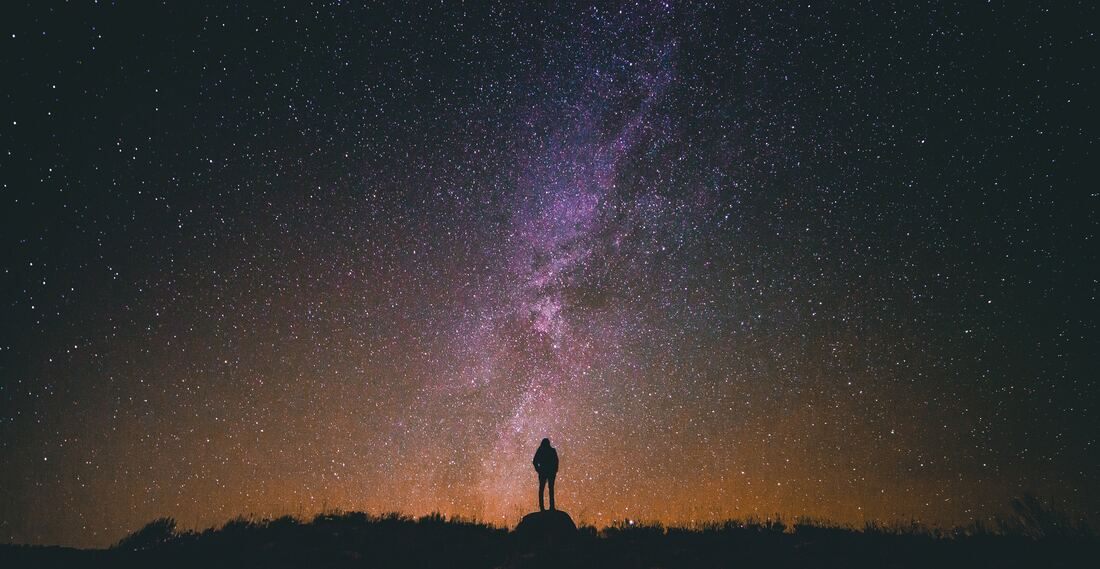
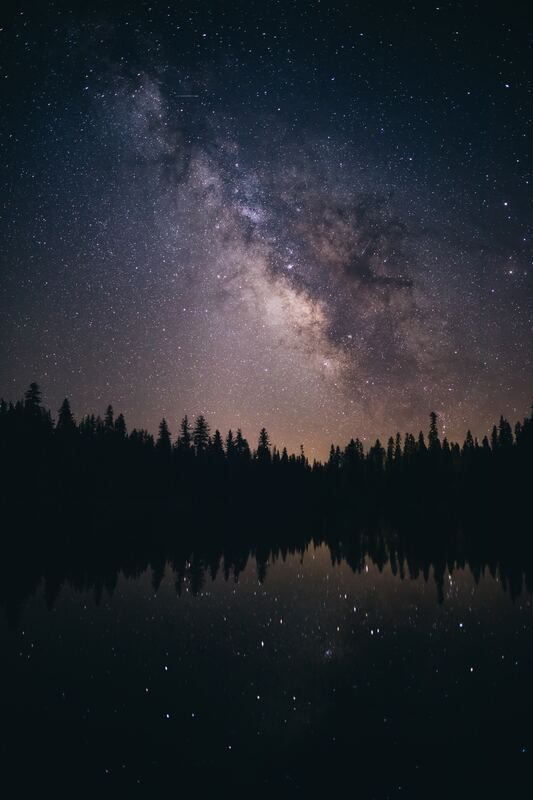
- Keep your compositions interesting by working in foreground elements.
- Use image averaging to bring out even more detail in your final photo.
Photographing the Milky Way takes a little patience and a few cold nights, but there’s nothing quite like watching the galaxy show up on your camera’s screen for the first time. If you’re working on your own night sky photography, I hope this helps – happy shooting.
Frequently asked questions
What camera settings do I need to photograph the Milky Way?
Start around ISO 1600, shoot at your lens’s widest aperture (f/2.8 or lower), and use a shutter speed of 10-25 seconds to avoid star trails – then fine-tune from there.
When is the best time of year to see the Milky Way?
Milky Way season generally runs from February through October, when the galactic core is visible in the night sky.
Do I need an expensive camera to photograph the Milky Way?
A full-frame camera helps but isn’t required – what matters most is a sturdy tripod, a wide-angle lens with a fast aperture, and a dark-sky location.


Comments Off on How to Photograph the Milky Way